This guide outlines the procedure to apply auto recover settings for SOLIDWORKS file.
1. In your computer, launch SOLIDWORKS.
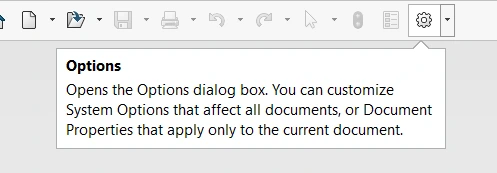
2. At the app’s top bar, click on ‘Settings’ (gear icon).
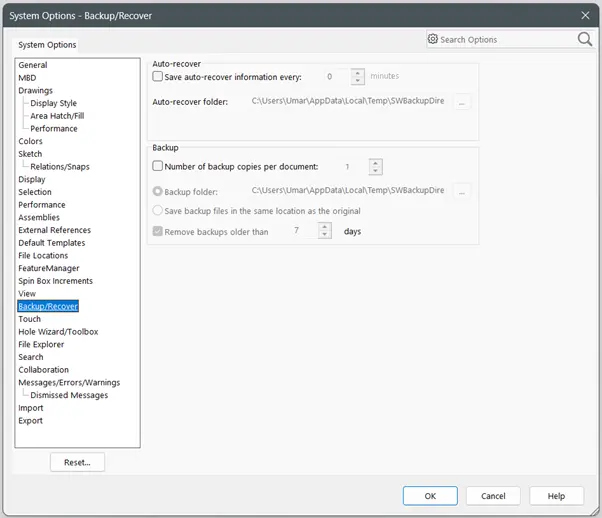
3. System Options – General window will open.
a. Click ‘Backup/Recover’.
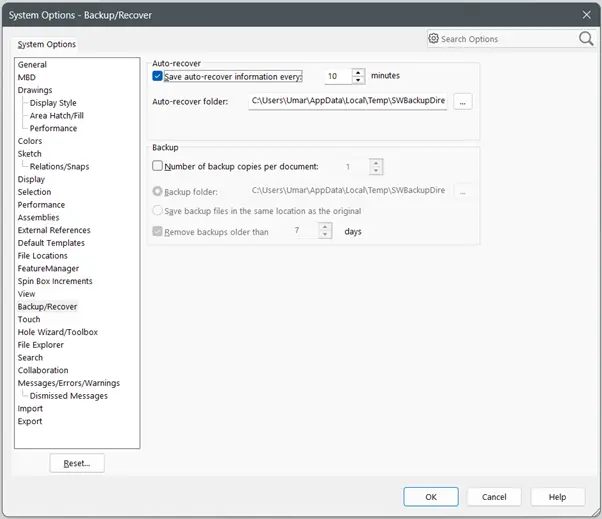
4. Choose ‘Save auto-recover information every:’.
a. Click ‘OK’ to apply the settings.
Note:
5. Your auto recover settings for SOLIDWORKS file is now successfully applied. To open SOLIDWORKS auto recover file, you may follow the steps here.
If you encounter an issue while applying auto recover SOLIDWORKS file settings, you may contact [email protected] for assistance.
If you want to learn more about common questions, you can browse the FAQ from SOLIDWORKS here.
If you found this helpful, we’d love for you to share it!
Experience the power of advanced technology and gain a competitive edge in the market. Request a demo today or contact us to get started on your journey towards success!