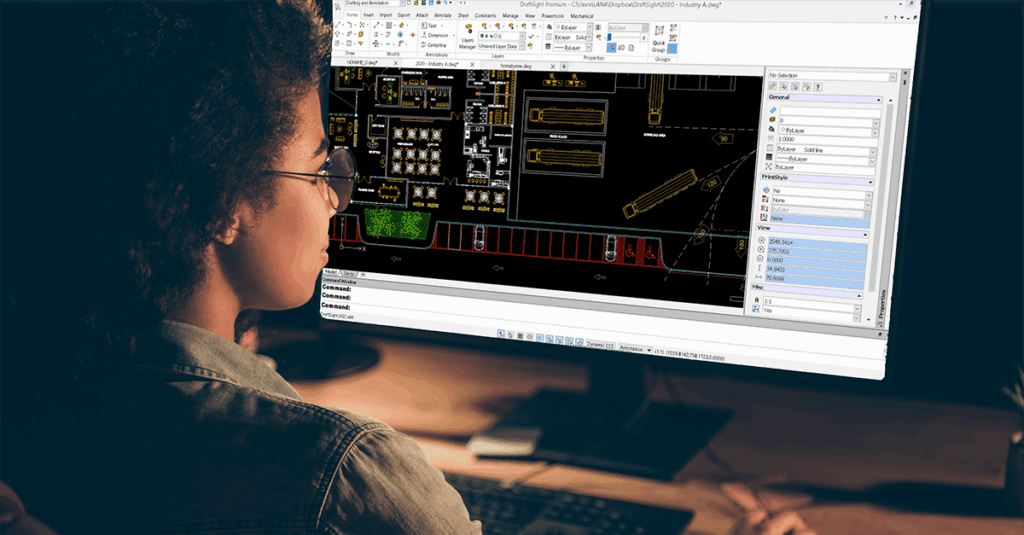
When you launch DraftSight for the first time, the interface can feel like you have stepped into someone else’s workstation. All the tools are there, but not necessarily arranged the way you like to work. That is where interface customization becomes valuable.
By tailoring DraftSight to match your habits, bringing favourite tools closer, hiding what you rarely use, and adding shortcuts, you can turn the default layout into a workspace that supports your drafting style.
The default setup is a good starting point. However, as you use DraftSight more, you will start to notice patterns, such as:
Menus you almost never open
Commands you use all the time
Tools that would be faster to access with a shortcut
With a bit of setup, you can streamline all of that. Here is how to get started.
The default layout is a solid starting point, but as you gain experience, you’ll notice certain tools or menus you use more often than others. By tailoring your workspace, you can minimize unnecessary clicks and keep essential tools right at your fingertips.
Here’s how you can start personalizing your DraftSight environment:

1. Start with Workspaces
DraftSight includes several predefined workspaces for different types of tasks, but you are not restricted to them.
You can create your own custom workspace:
Right-click in the interface and choose Customize Interface.
In the dialog, you can add or adjust:
Ribbon tabs and panels
Toolbars
Menus
The Quick Access Toolbar
Drag items from the explorer into your custom workspace and arrange them where they make the most sense for you.
When you are happy with the layout, click Apply, then OK. Your personalized workspace is ready to use. You can edit it at any time to add new tools, remove ones you no longer need, or reorganize panels as your workflow changes.
2. Adjust Display and UI Settings
Visual comfort is important when you spend long hours working on drawings. DraftSight provides several display and user interface options that you can adjust to make the screen easier on your eyes and highlight what matters most.
Open the Options dialog (you can type OPTIONS in the command line) and you will be able to:
Switch between dark and light themes
Change cursor and crosshair colours
Adjust the background colour in the model and sheet areas
Modify the font and size used in the command window
There is also a search field inside the Options dialog. Typing phrases like “element colors” or “command window” will take you straight to the relevant settings, so you do not have to browse every section.
3. Create Custom Toolbars and Ribbon Tabs
If you like working with toolbars, ribbons, or a combination of both, the Customize Interface dialog is where you can build your own layout.
For example, to group your most frequently used commands in one place, you can:
Create a new custom ribbon tab.
Add a custom panel inside that tab.
Drag commands from the command list into your new panel.
This lets you group related tools based on how you actually work, instead of relying only on the default organisation.
In the same area, you can also set up macros, which are short sequences of commands that run together. These can help you speed up repetitive tasks.
4. Assign Keyboard Shortcuts (Aliases)
If you prefer using the keyboard, DraftSight lets you customise command aliases, which act as keyboard shortcuts.
Go to:
Options > User Preferences > Aliases
DraftSight already includes many familiar shortcuts, especially if you have used other 2D CAD systems. However, you can easily tailor them to your own style:
Find the command you want to assign a shortcut to.
Add a new alias, for example
MLLforMULTILEADER.Apply and save your changes.
You can export and import these aliases, which makes it easy to reuse the same shortcut setup on different computers.
5. Optional: Automate Tasks with LISP
This step is optional for beginners, but useful to know. DraftSight supports LISP routines for automation.
LISP scripts are small text files that can help with tasks such as:
Creating or managing layers
Cleaning up duplicate objects
Automating repetitive drawing operations
If you are curious about automation, you can start with simple examples and build up from there. LISP is widely used in the CAD industry, and there are many learning resources and sample routines available, including information on Visual LISP support and the DraftSight LISP debugger.
6. Treat Customization as an Ongoing Process
Customizing DraftSight is not something you do only once. As you become more experienced with the software and your projects change, you will likely discover new adjustments that make your work faster and smoother.
Over time, you might:
Refine your workspace layout
Adjust display settings for comfort
Add or modify shortcuts and aliases
Introduce more macros or LISP routines
By shaping the interface around the way you actually draft, you spend less time searching through menus and more time focused on your design.
Adapted from DraftSight Blog: “The Beginner’s Guide to Customizing the DraftSight Interface”.


