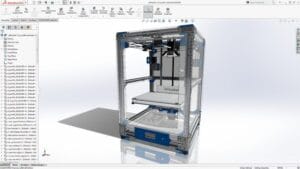
In SOLIDWORKS, several handy tools can simplify your tasks. One such tool is the ability to link your SOLIDWORKS drawing’s BOM table to Microsoft Excel. This feature boosts your efficiency by eliminating the need to manually enter data into Excel each time you make changes to the (Bill of Materials) BOM Table in your SOLIDWORKS drawing.
Here is a straightforward guide for your reference:
Step 1:
Navigate to the top left corner of your SOLIDWORKS application and select Insert > Tables > Excel-Based Bill of Materials.
Step 2:
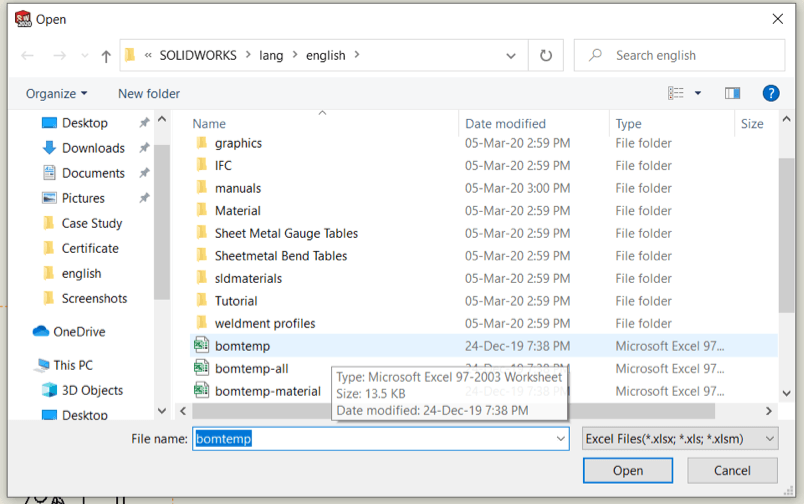
Select the Excel-Based Bill of Materials, and choose a template from the default SOLIDWORKS BOM folder or a custom one. In this case, the file is named “bomtemp” from the default folder.
Please be aware that the BOM include part number, quantity, item number, and description of the components in your assembly.
Step 3:
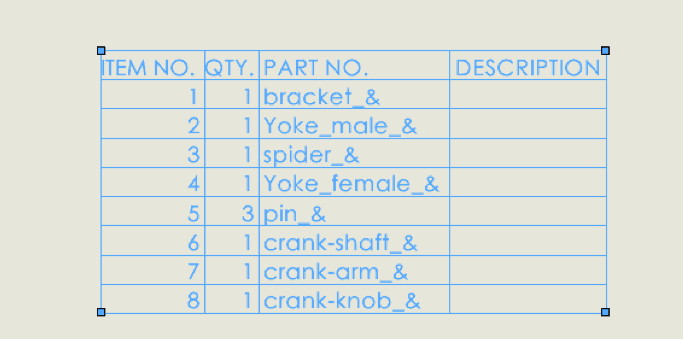
Copy the desired table while in editing mode.
Step 4:
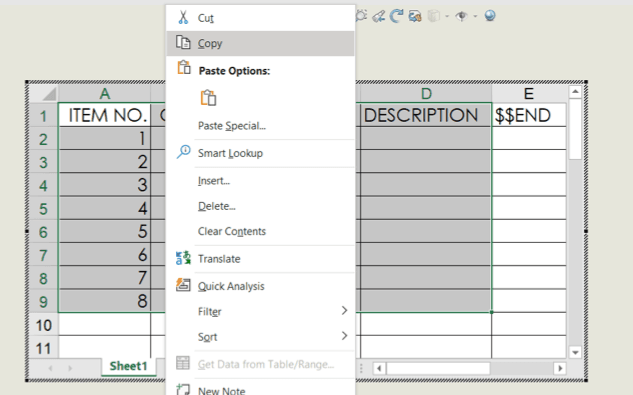
After copying the BOM table in SOLIDWORKS, open Microsoft Excel. Then, under the Paste options, expand the feature and select “Paste with Link” to insert the SOLIDWORKS BOM table into Excel.
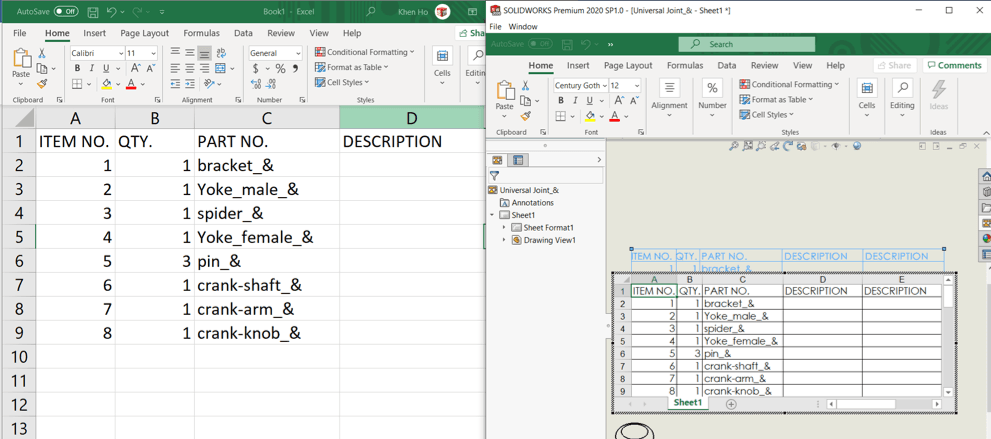
Once you paste the BOM into Microsoft Excel, any changes made in SOLIDWORKS will automatically update the data in Excel. The figure below shows the BOM before and after the modification.
Here are the changes:
Before
After
The changes show added numbers in the “DESCRIPTION” column, which correspond to the BOM entries for each item.
If you found this blog post helpful, we’d love for you to share it!
Transform Your Business With Us Through Cutting-Edge 3D Software
Experience the power of advanced technology and gain a competitive edge in the market. Request a demo today or contact us to get started on your journey towards success!