Install 3DEXPERIENCE Design with SOLIDWORKS: A Quick Guide
This guide outlines the procedure to install 3DEXPERIENCE Design with SOLIDWORKS.
1. Log in to your 3DEXPERIENCE Platform as an appropriate user.
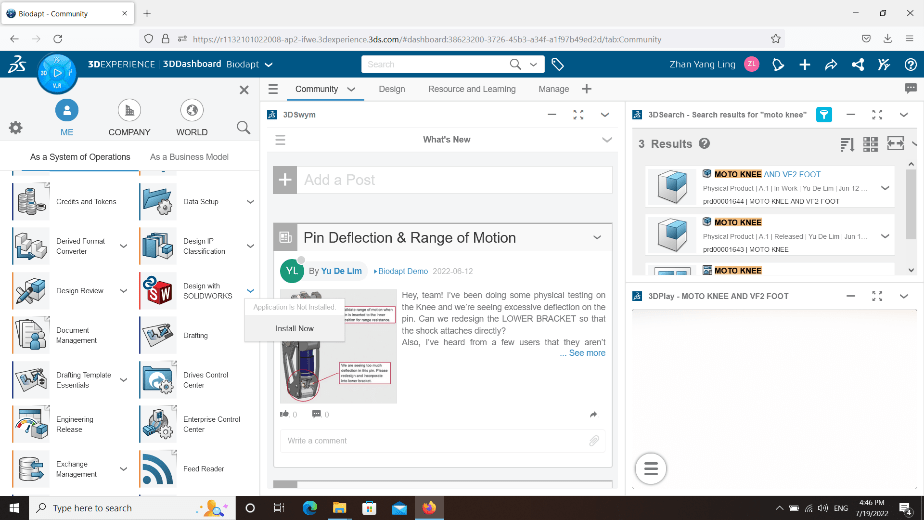
2. From the Compass, select Design with SOLIDWORKS and click ‘Install Now’.
Note: You may have to install a compatible version of 3DEXPERIENCE Launcher if it is not already installed on your client computer. To install 3DEXPERIENCE Launcher, follow the steps here.
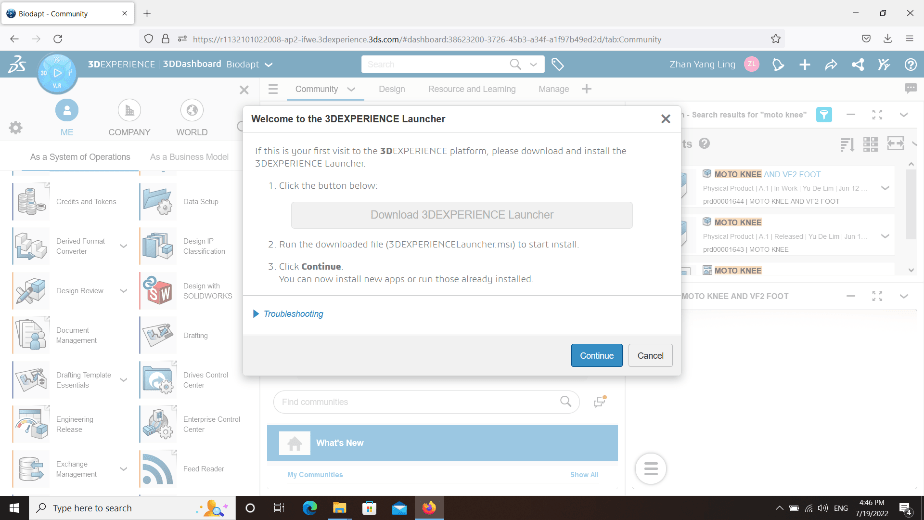
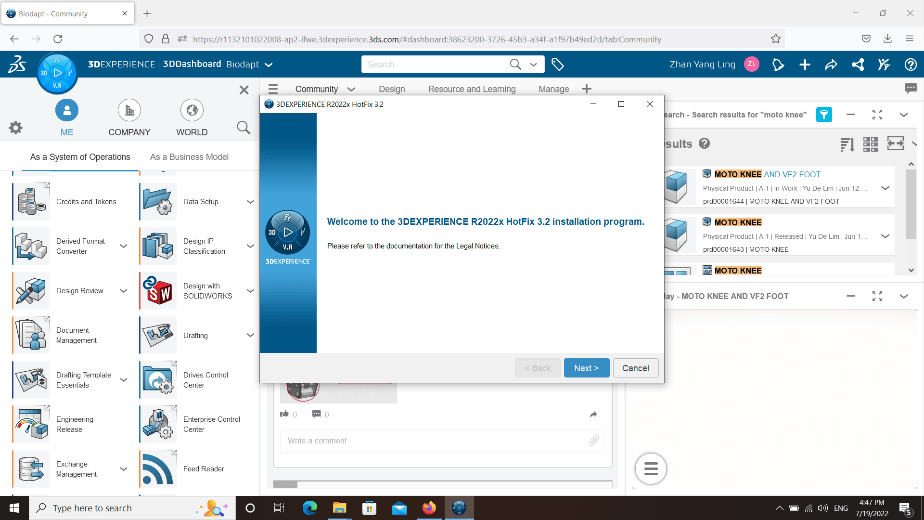
3. Welcome to 3DEXPERIENCE Launcher will open.
a. Click ‘Continue’.
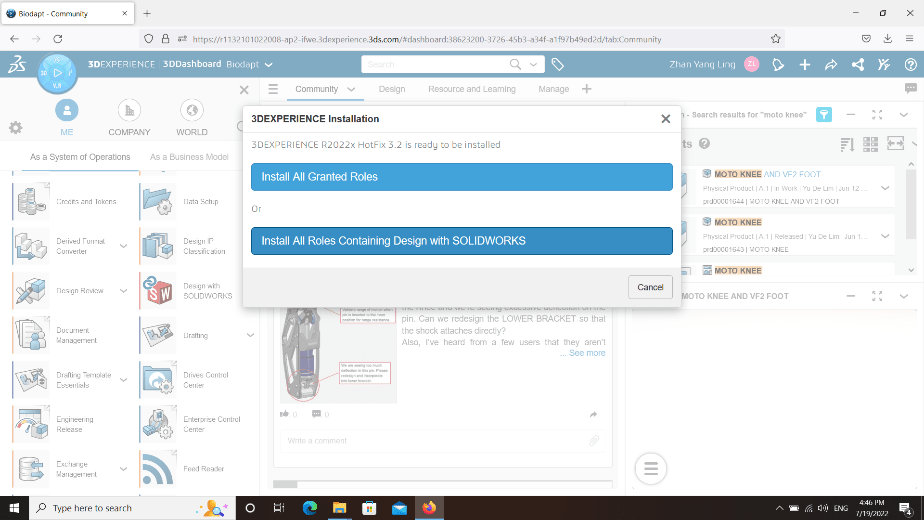
4. 3DEXPERIENCE Installation window will open.
a. Click ‘Install All Roles Containing Design with SOLIDWORKS’.
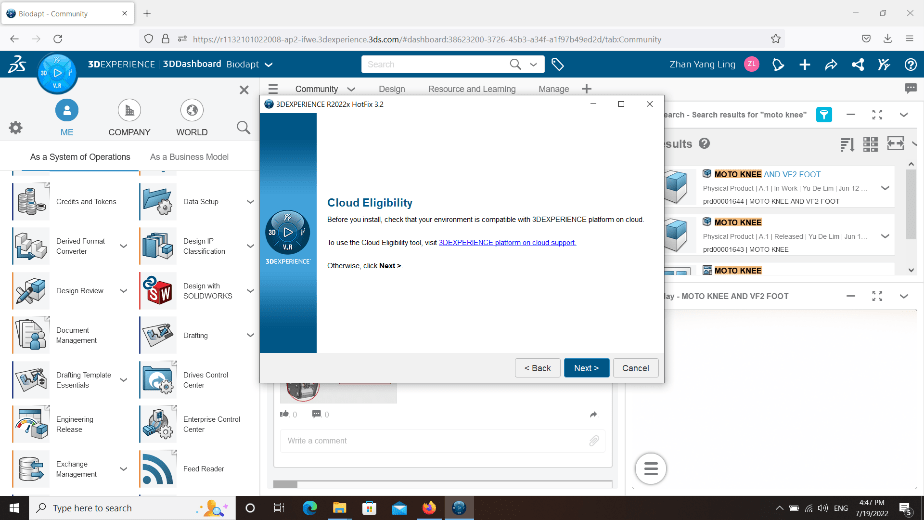
5. Click ‘Next‘.
6. Click ‘Next‘.
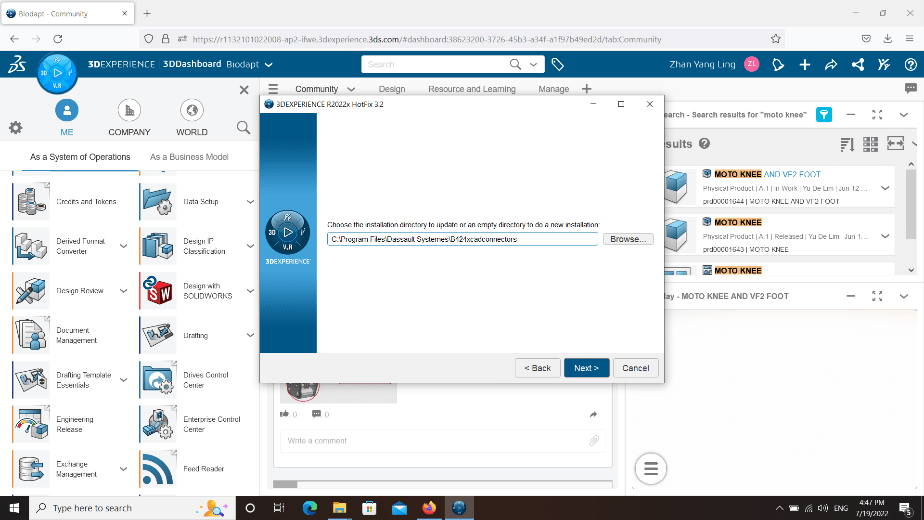
7. Leave the default installation path and click ‘Next’.
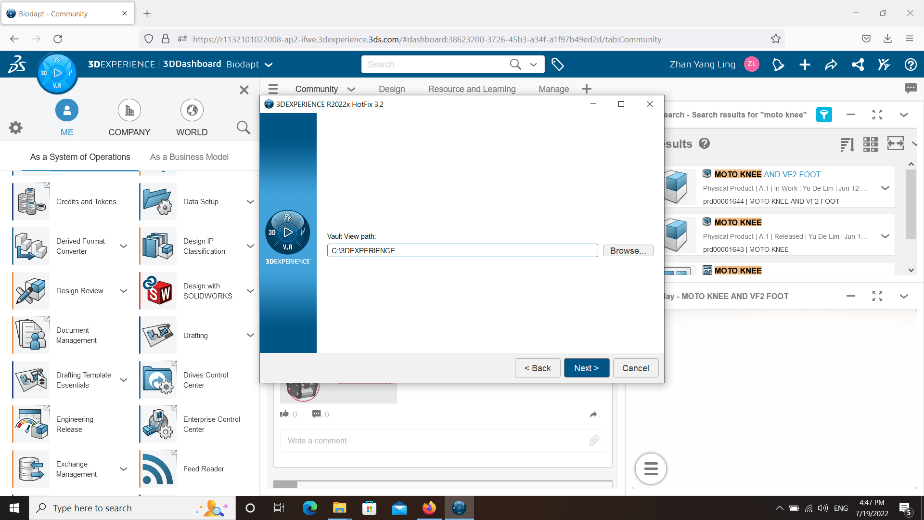
8. Leave the default vault view path and click ‘Next’.
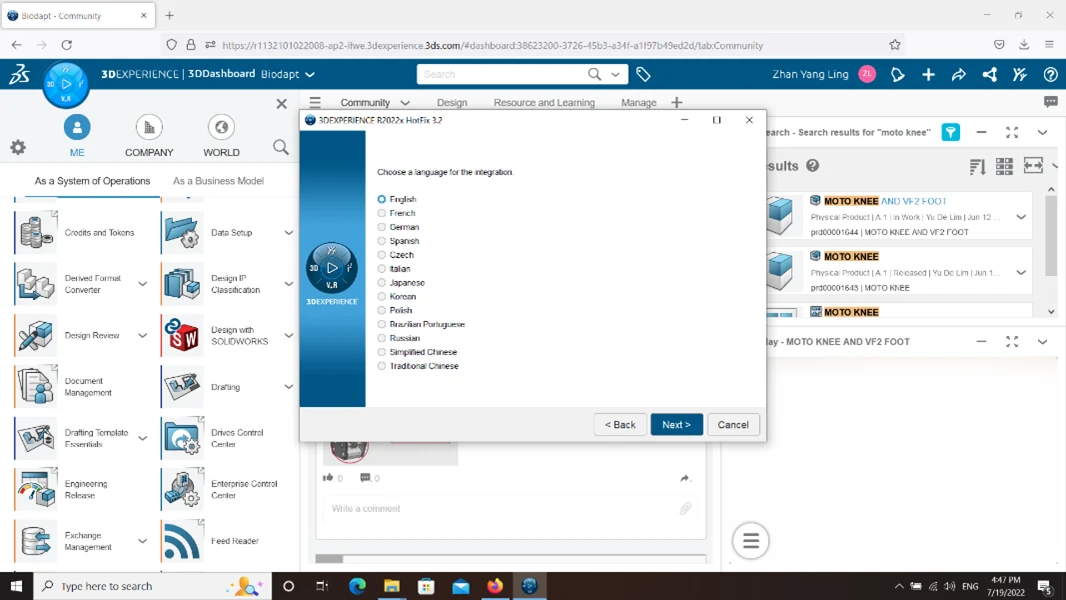
9. Select the language for the integration and click ‘Next’.
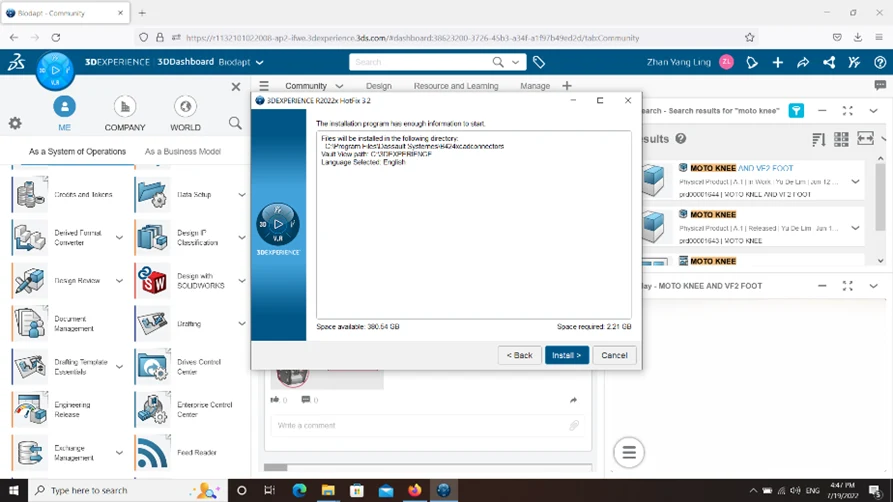
10. Click ‘Install’.
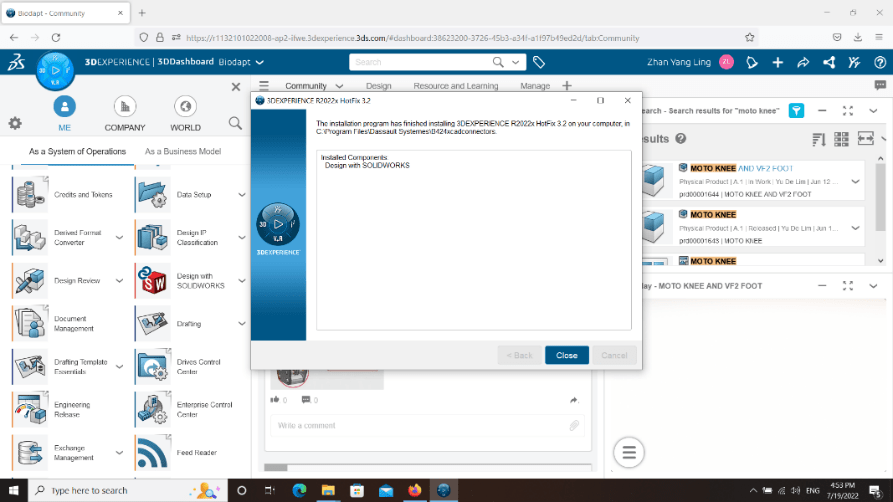
11. Click ‘Close‘.
12. Your 3DEXPERIENCE Design with SOLIDWORKS isnow successfully installed.
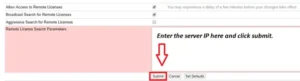
If you encounter issue while borrowing SOLIDWORKS network license, you may reach out to [email protected] for assistance.
If you found this blog post helpful, we’d love for you to share it!
Transform Your Business With Us Through Cutting-Edge 3D Software
Experience the power of advanced technology and gain a competitive edge in the market. Request a demo today or contact us to get started on your journey towards success!