Automatic Activation of SOLIDWORKS Network License: A Step-by-Step Guide
What you need to do after the installation of SOLIDWORKS License Manager
The SOLIDWORKS network license must be activated after the installation of SOLIDWORKS SolidNetwork License Manager on the server computer. Please take the steps listed below to accomplish this:
Step 1: In the server computer, launch SOLIDWORKS SOLIDNETWORK License Manager XXXX.
Step 2: Since there is no license activated, you will be prompted to activate your license(s). Select 'Yes'.
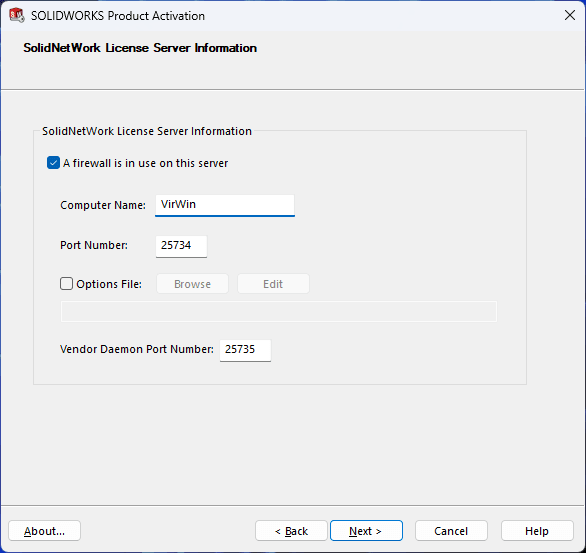
Step 3: SOLIDWORKS Product Activation window will open.
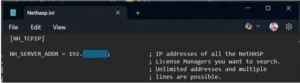
a. Use default ‘Port Number’values unless in use.
b. Leave ‘A firewall is in use on this server’ selected.
c. Allow inbound TCP ‘25734’ & ‘25735’.
d. Click ‘Next’ to proceed.
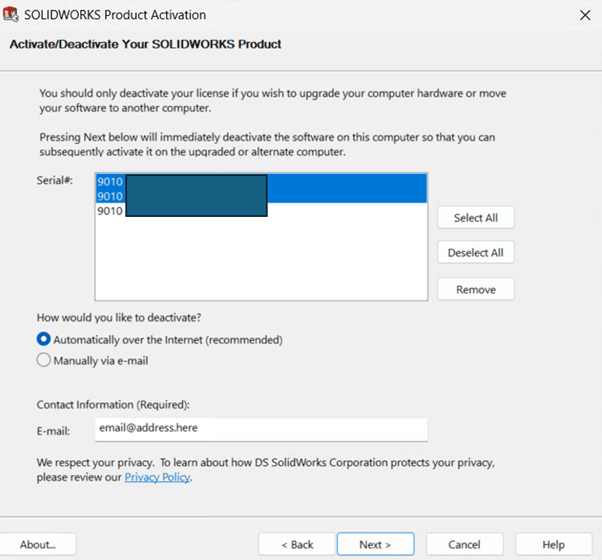
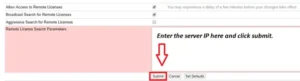
Step 4: SOLIDWORKS Product Activation window will open.
a. Select the license that you want to deactivate.
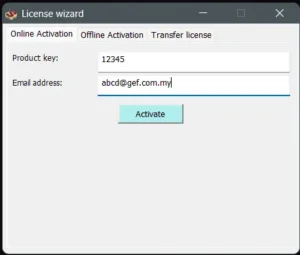
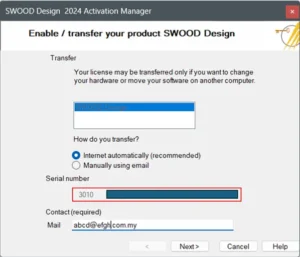
b. Leave ‘Automatically over the Internet (recommended)’ selected and fill in your email.
c. Click ‘Next’ to proceed.
Note: For the ‘Manually via e-mail’ method, you may follow the steps here ***Reactivate License (link to manual activation guide.)
Transform Your Business With Us Through Cutting-Edge 3D Software
Experience the power of advanced technology and gain a competitive edge in the market. Request a demo today or contact us to get started on your journey towards success!