SOLIDWORKS offers three main tiers of its CAD (Computer-Aided Design) software: Standard, Professional, and Premium. Each tier provides a different set of features and tools to cater to the varying needs of users from different industries and with different levels of design complexity. If you want a detailed comparison of each tier, you may refer. In general, the difference between Standard, Professional, and Premium is:
How to Upgrade SOLIDWORKS Tier
- Standard: This tier is ideal for basic 3D design and engineering tasks, providing all the essential tools for robust modeling and basic analysis. It's suitable for companies that require a solid foundation in CAD design without the need for advanced features.
- Professional: This tier is designed for companies that need more than just basic design capabilities. It offers advanced visualization, collaboration, and cost estimation tools. It is perfect for businesses looking to streamline their design processes and improve efficiency.
- Premium: Suitable for companies that demand the highest level of design capabilities. It includes extensive simulation, advanced analysis tools, and features for complex product designs that require detailed testing, validation, and performance optimization. It's ideal for industries where precision and reliability are critical.
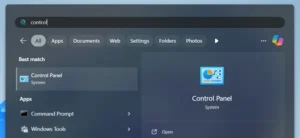
1. Modify SOLIDWORKS from the list of applications.

2. Choose “Modify your installation” and click “Next” until “Product Selection” page.


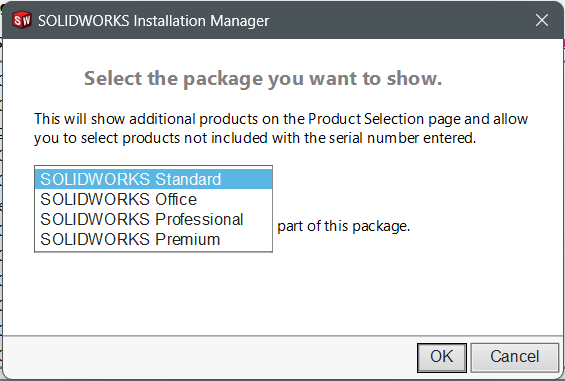
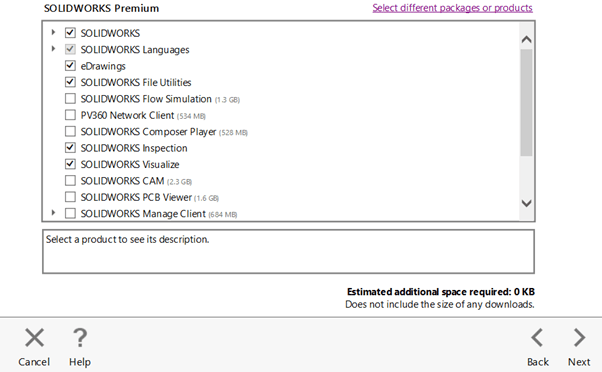
3. Notice the SOLIDWORKS tier is currently Standard. Click on “Select different packages or products” to change the tier.

- Choose the package that you want to upgrade and click “OK”.

4. Choose the products that you want to install and click “Next”.

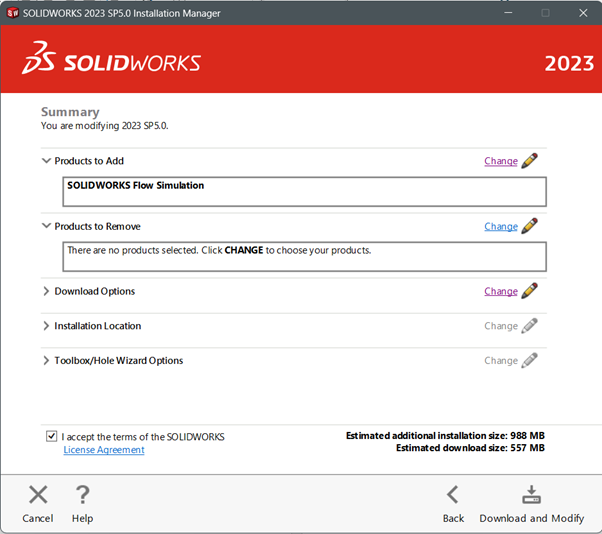
5. Proceed to “Download and Modify” to perform the upgrade.

If you have any issues upgrading your SOLIDWORKS Tier, you may contact [email protected] for assistance.


