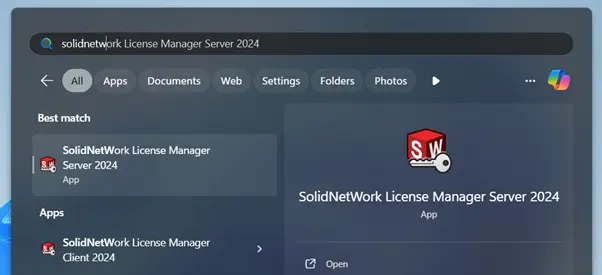
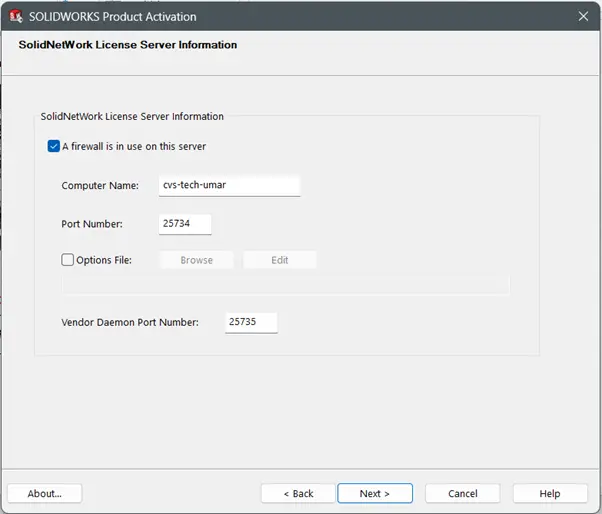
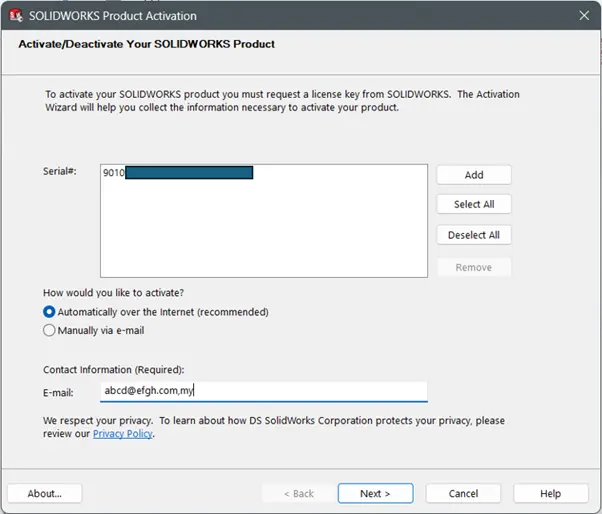
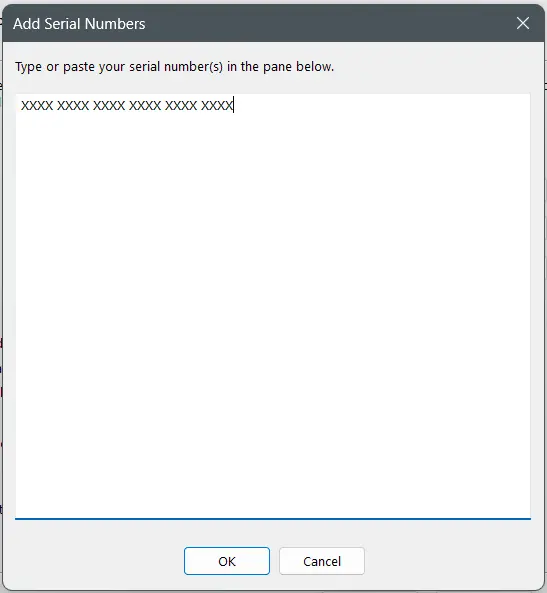
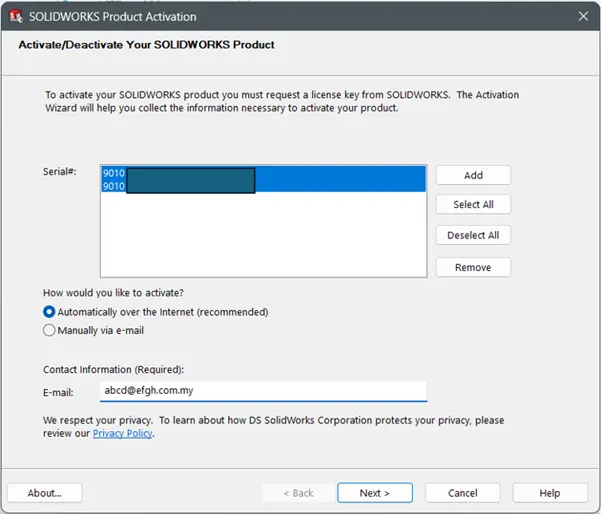
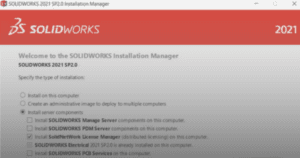
Installation Guide How to Install SOLIDWORKS Network License (SNL) Manager in Just 8 Easy Steps Read More »
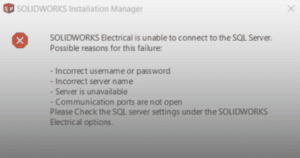
Installation Guide SOLIDWORKS Electrical Can’t Connect to SQL Server? Here’s the Solution Read More »