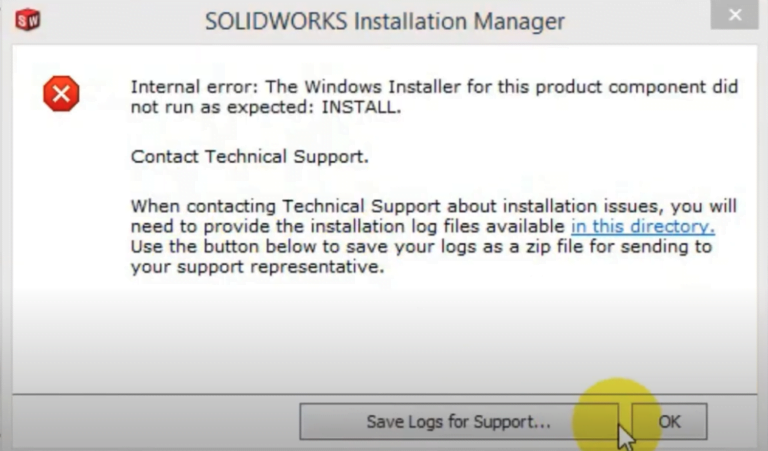
When running SOLIDWORKS installation, user might stumble upon this error “Internal Error: The Windows Installer for this product component did not run as expected: INSTALL”.
This has been a common issue during installation. To solve this problem:
Step 1: Log on to Windows using an account with administrator permissions.
Step 2: Stop the antivirus and firewall services.
Step 3: Go to Control Panel > Programs and Features.
- Uninstall all instances of the SOLIDWORKS software that exist on the computer. Skip if there are no SOLIDWORKS installations.
Step 4: Open the Registry Editor utility.
- Click on Start > type ‘Regedit.exe’ (without the quotation marks) > press Enter.
Step 5: Rename or delete the following registry keys:
- HKEY_CURRENT_USER\Software\SOLIDWORKS
- HKEY_LOCAL_MACHINE\SOFTWARE\SOLIDWORKS
- IMPORTANT: Do not change or delete any other registry key or folder. Doing so can result in serious problems with your computer and applications.
Step 6: Open Windows Explorer and delete:
- All the SOLIDWORKS installation folders (C:\Program files\SOLIDWORKS Corp)
- All versions of the SOLIDWORKS ‘Data’ folder (C:\).
Step 7: Go to Control Panel > Programs and Features > and uninstall all versions of the Microsoft .NET Framework software starting with the most recent version and working in reverse order to the oldest version.
Step 8: Go to Control Panel > Programs and Features > click on Turn Windows features on or off.
- Clear the check box for Microsoft .Net Framework 3.5.1 and NET Framework 4.6 Advanced Services. Click ‘OK’
Step 9: Download the NET Framework Cleanup Utility (dotnetfx_cleanup_tool.zip) from
- Microsoft
- Unzip the file download, and then run the file ‘NetFxRepairTool.exe’
- In the Setup Cleanup Utility dialog, for Product to cleanup select .NET Framework – All versions > click on Cleanup Now
Step 10: Go to Control Panel > Programs and Features.
- Uninstall the 2008, 2010, 2012, 2013 and 2015 versions of the ‘Microsoft Visual C++ Redistributable’ components.
- Uninstall the ‘Microsoft Visual Studio 2005 Tools for Application’ software.
Step 11: Restart the computer.
Step 12: Log on to Windows using an account with administrator permissions.
Step 13: Stop the antivirus and firewall services.
Step 14: Go to Control Panel > Programs and Features > click on Turn Windows features on or off.
- Select the check box for Microsoft .Net Framework 3.5.1 and .NET Framework 4.6 Advanced Services > ok > Select ‘Download files from Window updates’ > Once the required files are downloaded click Close
Step 15: Run the ‘dotNetFx40_Full_x86_x64.exe’ file from DVD or the installation media under ‘downloads\prereqs\dotNetFx\’
Step 16: Reinstall the 2008, 2010, 2012, 2013 and 2015 versions of the ‘Microsoft Visual C++ Redistributable’ components from the following locations:
- downloaded files\prereqs\VCRedist9\vcredist_x86.exe and vcredist_x64.exe
- downloaded files\prereqs\VCRedist10\vcredist_x86.exe and vcredist_x64.exe
- downloaded files\prereqs\VCRedist11\vcredist_x86.exe and vcredist_x64.exe
- downloaded files\prereqs\VCRedist12\vcredist_x86.exe and vcredist_x64.exe
- downloaded files\prereqs\VCRedist14\vcredist_x86.exe and vcredist_x64.exe17