This guide outlines the procedure for automatic activation of SWOOD standalone license.
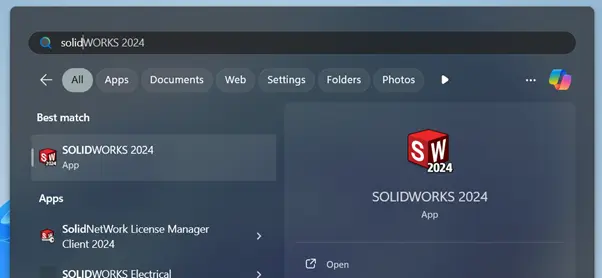
1. In your computer, launch SOLIDWORKS.
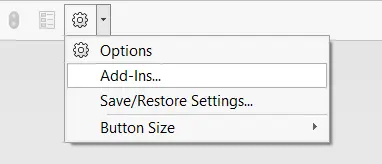
2. At the app’s top bar, click on drop-down menu besides ‘Settings’ (gear icon).
a. Click ‘Add-Ins’.
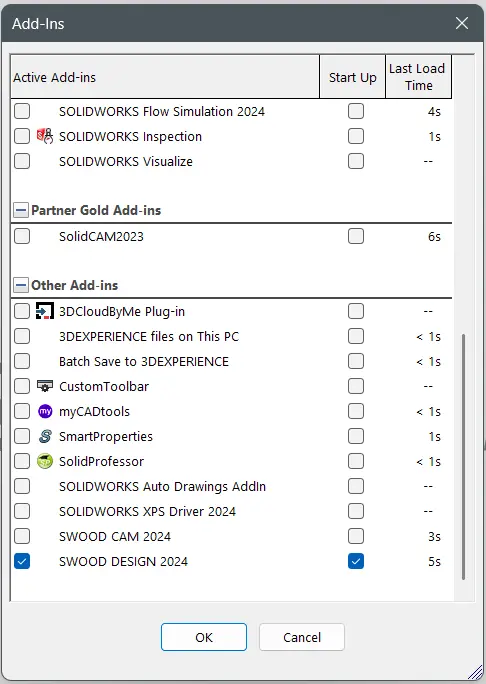
3. Add-Ins window will open.
a. Find SWOOD XXXX and checked both ‘Active Add-ins’ and ‘Start Up’.
b. Click ‘OK’.
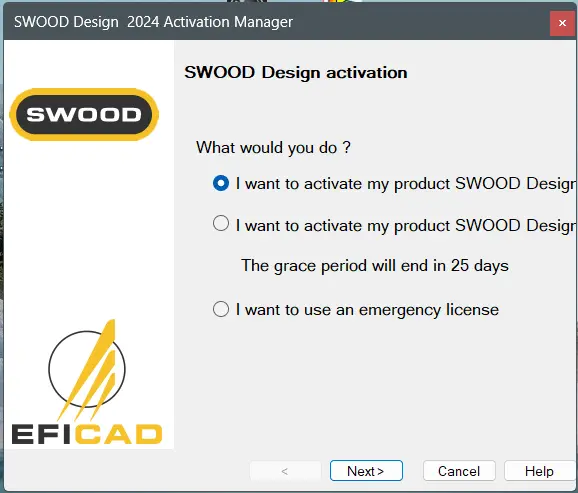
4. SWOOD XXXX Activation Manager window will open.
a. Choose ‘I want to activate my product SWOOD now’.
b. Click ‘Next’.
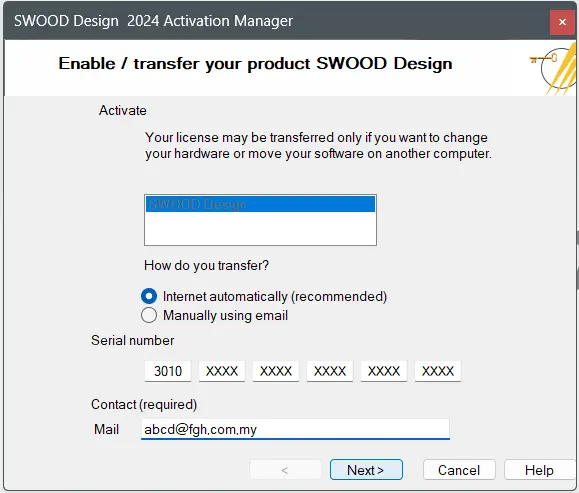
5. ‘Enable/transfer your SWOOD’ section will open.
a. Select the license that you want to activate.
b. Leave ‘Internet automatically (recommended)’ selected.
c. Fill in your SWOOD product license key.
d. Fill in your email address.
e. Click ‘Next’ to proceed.
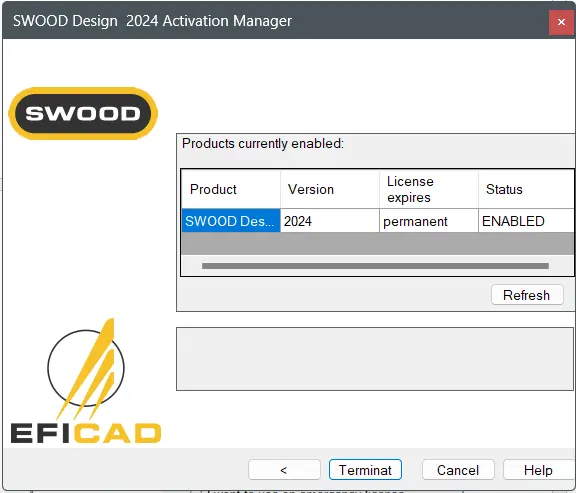
6. Click ‘Terminat’.
Note: For the ‘manually using email’ option, you may follow the steps here (link to manual activation of SWOOD license).
7. Your SWOOD standalone license is now successfully activated.
Note: During the first activation of SWOOD on a computer or during an update of SWOOD through year versions, you may have a message like the one below:
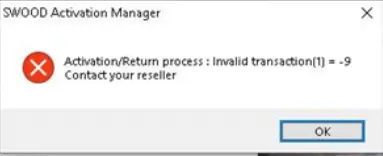
In this case, kindly try the activation again for at least 2 more times.
If you encounter an issue while activating SWOOD standalone license, you may contact [email protected] for assistance.
If you want to learn more about common questions, you can browse the FAQ from SWOOD by EFICAD here.
If you found this helpful, we’d love for you to share it!