Create Local Vault View in File Explorer with SOLIDWORKS PDM
Once SOLIDWORKS PDM have been installed, a Local Vault View needs to be created. Local Vault View is where the vault files are cached, when a ‘Check Out’ or ‘Get’ is performed on a vaulted file. By caching the files locally, performance is not degraded by network bottlenecks. To view and manage items, you must connect to a SOLIDWORKS PDM vault through a local folder called a local vault view.
This guide outlines the procedure to create local vault view in Windows File Explorer.
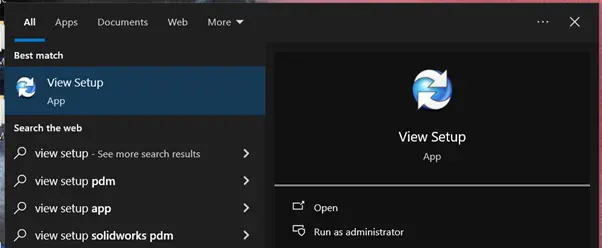
1. In your computer, launch View Setup.
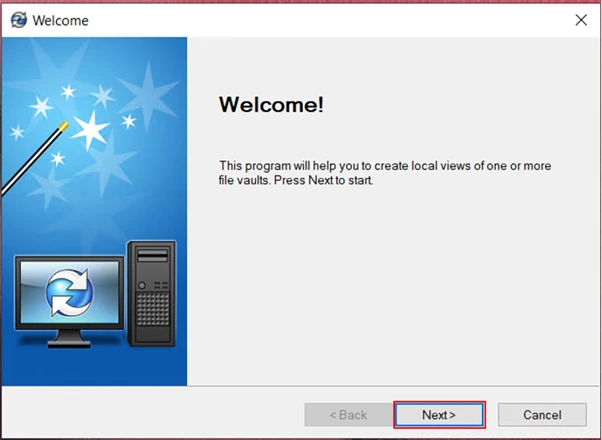
2. A welcome window will open.
a. Click ‘Next’.
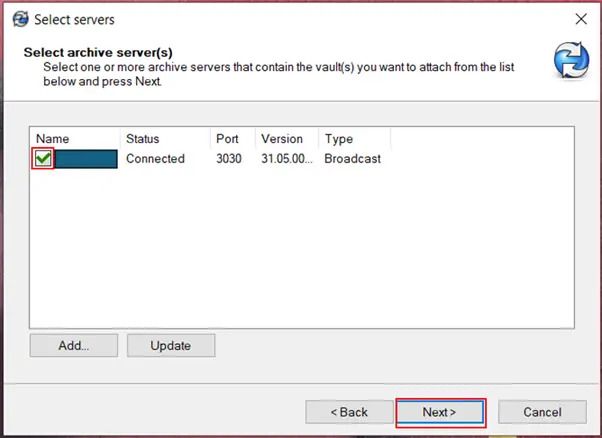
3. Check the box to select the archive server that contains the vault.
a. Click ‘Next’.
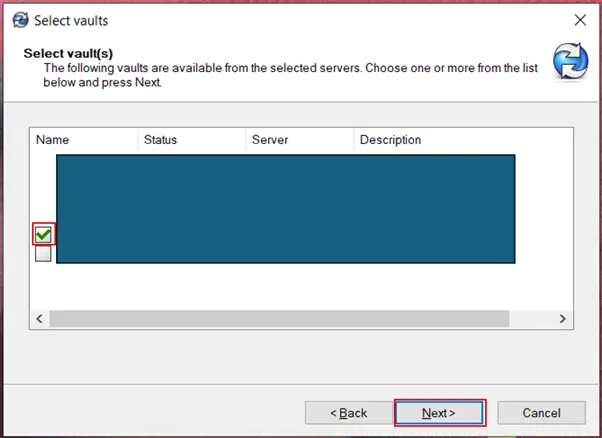
4. Check the box to select the vault that you want to access.
a. Click ‘Next’.
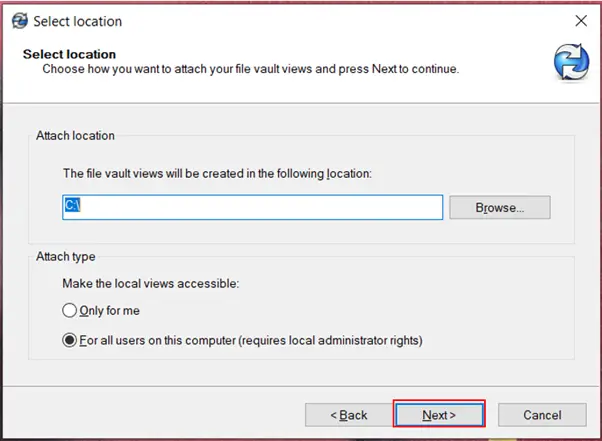
5. Leave the ‘Attach location’ and ‘Attach type’ at default.
a. Click ‘Next’.
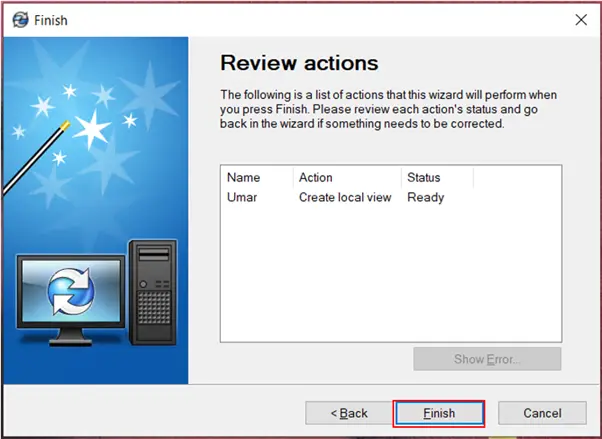
6. Click ‘Finish’.
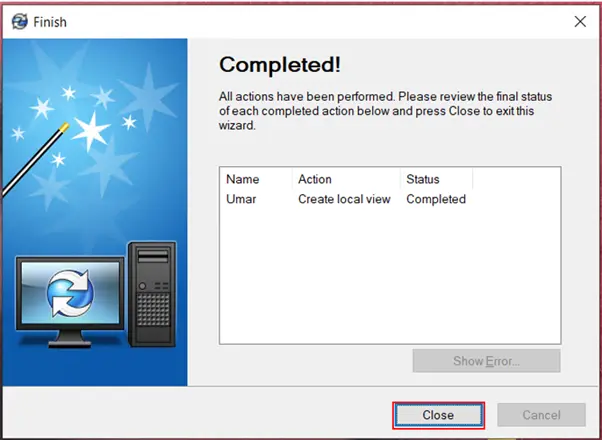
7. Click ‘Close’.
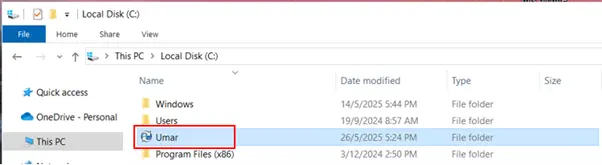
8. Your local vault view is now successfully created.
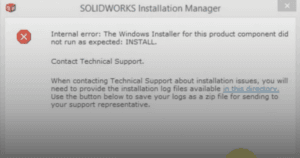
If you encounter an issue creating local vault view, you may contact [email protected] for assistance.
If you want to learn more about common questions, you can browse the FAQ from SOLIDWORKS here.
If you found this helpful, we’d love for you to share it!
Transform Your Business With Us Through Cutting-Edge 3D Software
Experience the power of advanced technology and gain a competitive edge in the market. Request a demo today or contact us to get started on your journey towards success!